In this guide, we will show you how to remove and replace the combination switch on a 2019 Mitsubishi Outlander. It is common for the combination switches to fail on a vehicle. It can happen due to wear and hard use.
The combination switch is the electronic switch assembly that controls several vehicle functions. It is used to control the turn signals, the high and low beam headlights, and wipers. It is usually mounted on the steering column, where it is easily accessible to the driver.
This repair is quite in-depth and does require some technical automotive knowledge. However, with a bit of persistence and if you follow this guide, you will be able to tackle this repair yourself.
Symptoms
Common symptoms of a failing combination switch:
Turn signals not operating properly
Wipers not operating properly
Headlights not operating properly
Switch getting stuck or not staying in place when using turn signals
What you will need
Tools
Flathead screwdriver
Phillips head screwdriver
T30 Torx (on certain older models)
17mm socket and ratchet
Professional OBDII scan tool
Pliers
Torque Wrench
Parts
Mitsubishi Combination Switch
Procedure
First, start by disconnecting the battery.
Wait at least 15 minutes before you start working on the airbag system. Always keep you body away from the airbag. If not handled with care an airbag may deploy and cause injuries.
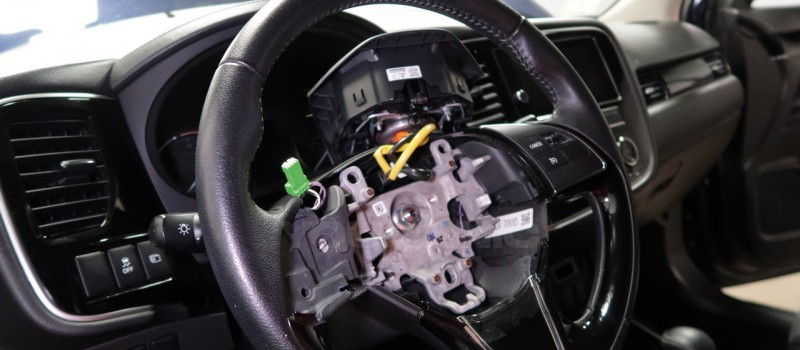
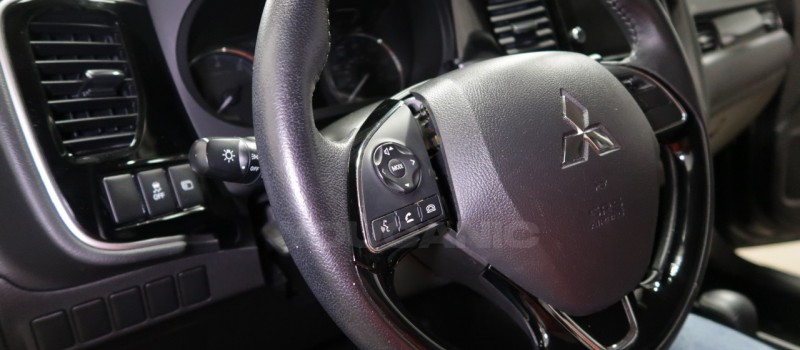
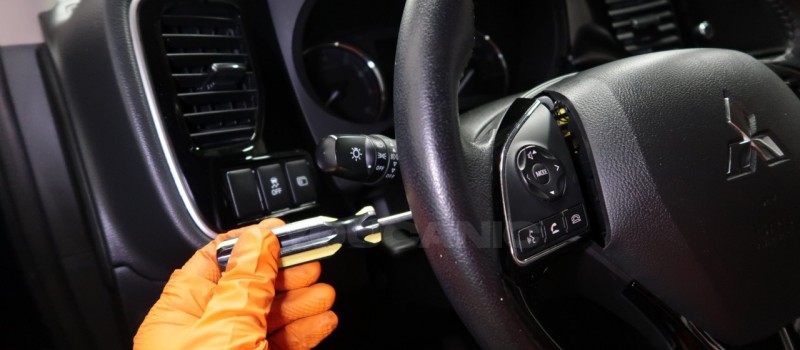
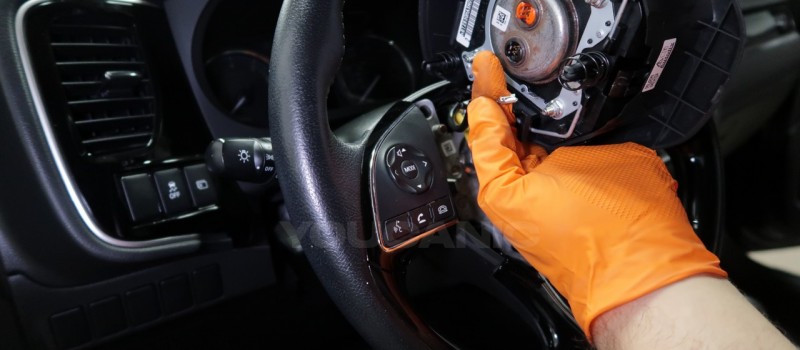
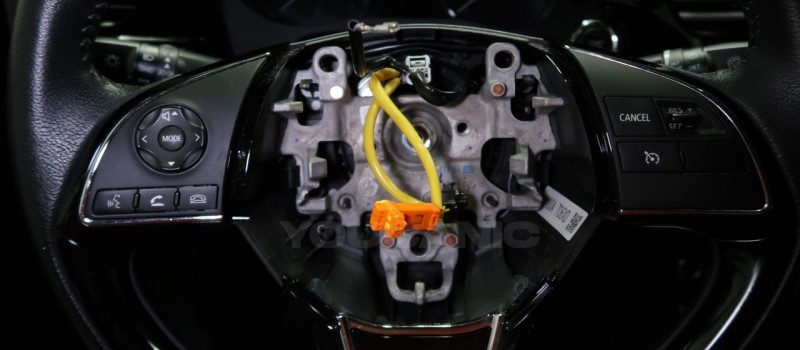
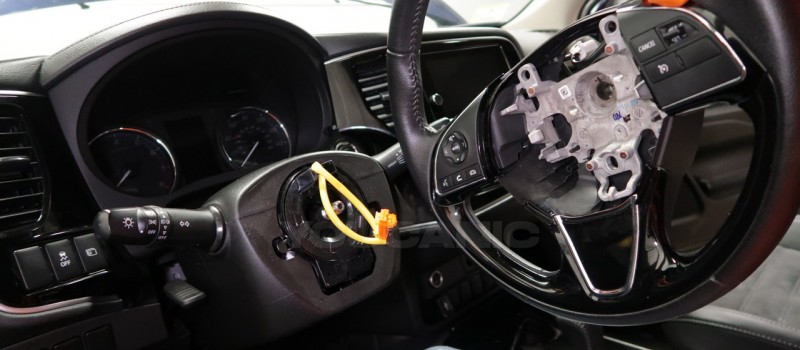
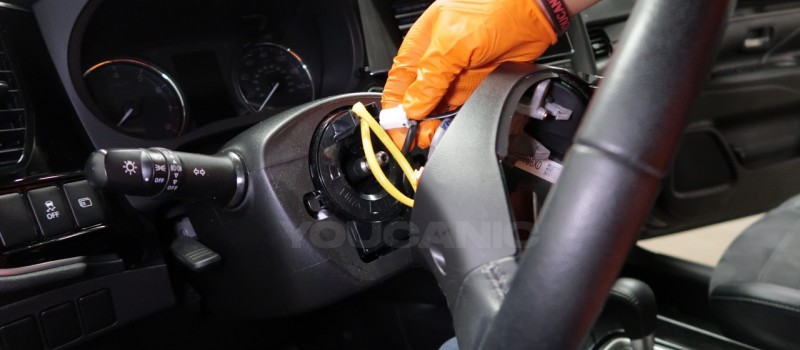
You will need to remove the airbag, steering wheel, and clockspring assembly. A guide for doing this can be found here.
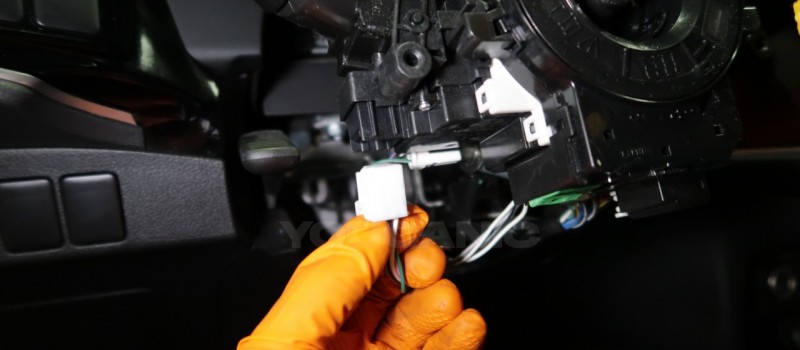
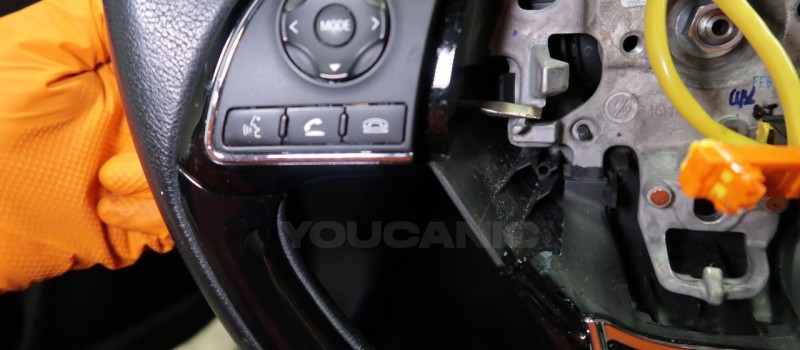
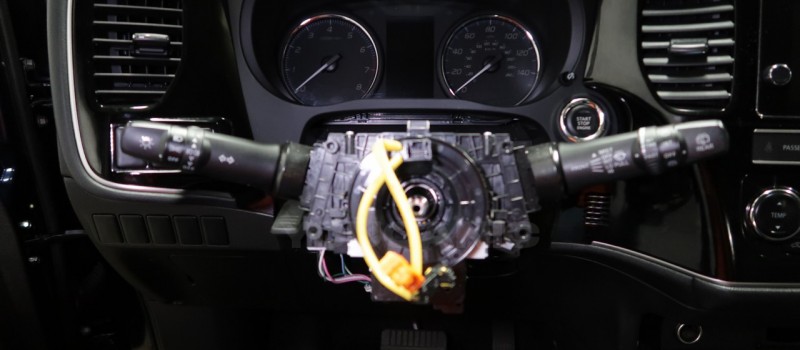
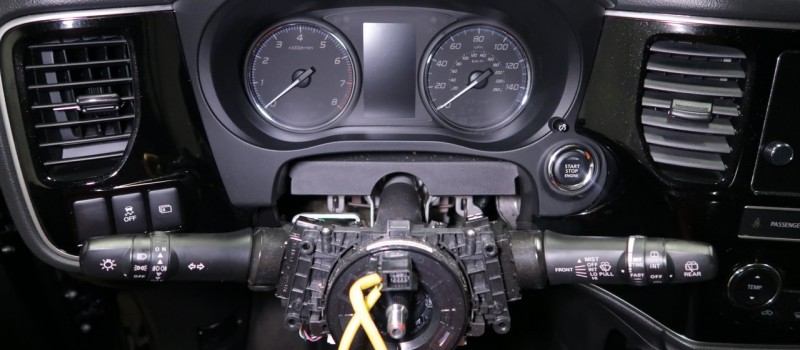
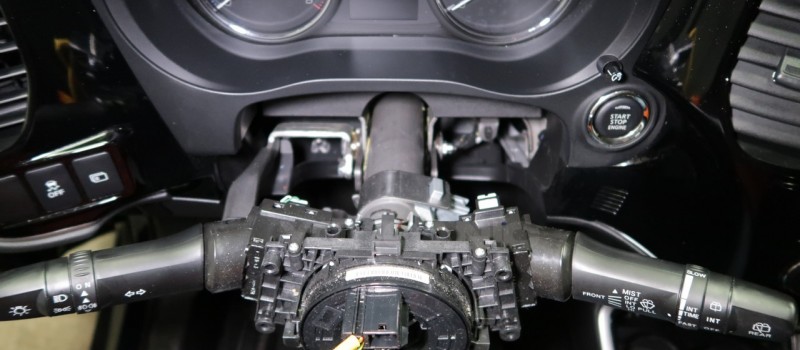
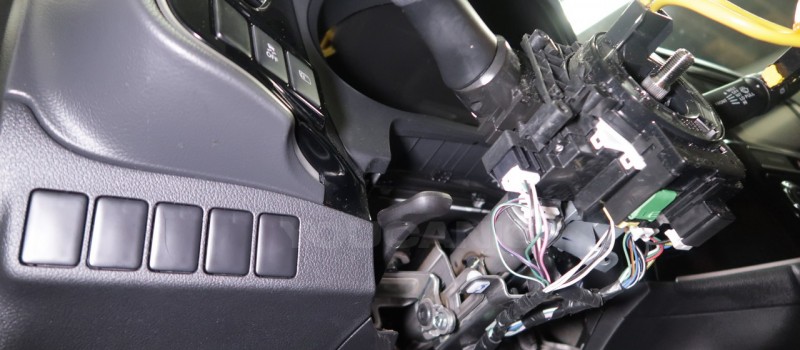
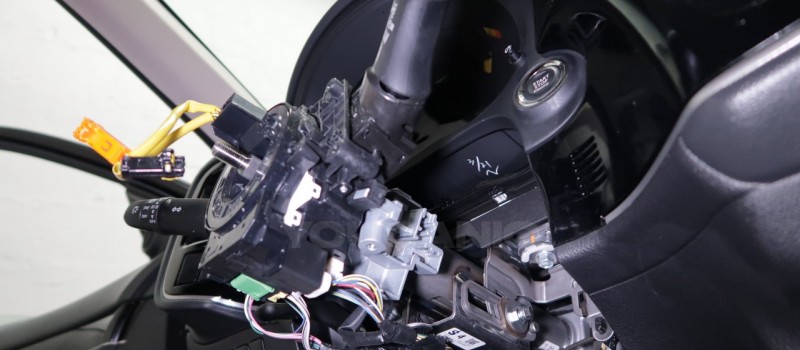
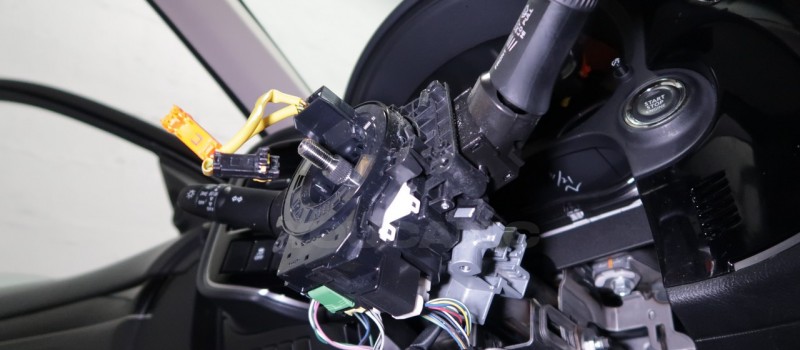
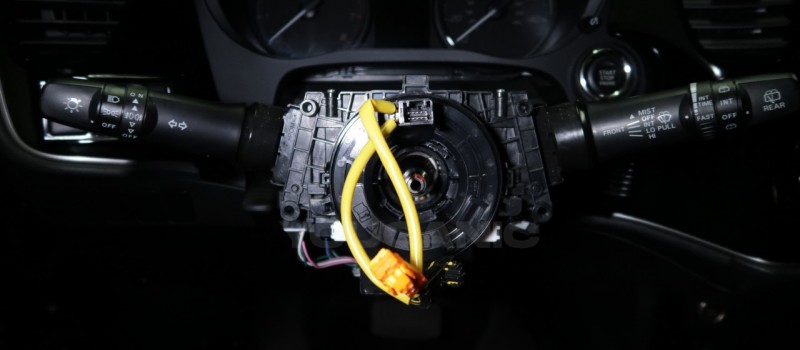
Next, remove the three electrical connectors from the combination switch by pressing down on the tabs on the end of them and pull out.
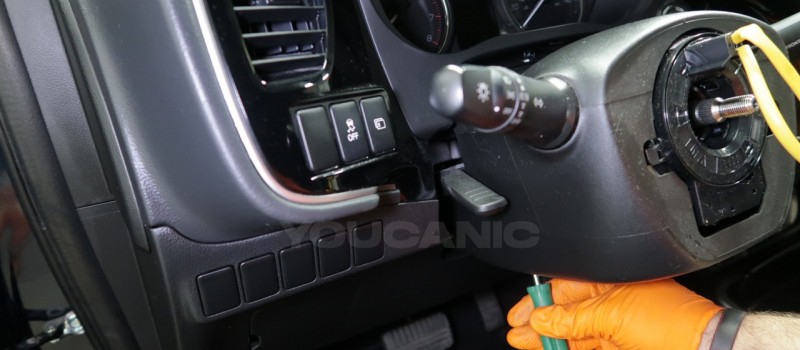
Now, remove the combination switch. On top of the combination switch assembly, the spring clamp that holds it in place can be accessed. Use a pair of pliers to squeeze the metal clamp and pull the assembly towards you to remove it from the steering column.
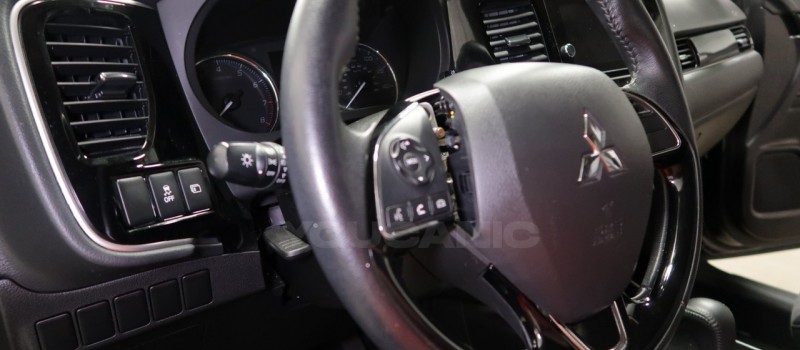
Replace the assembly with a new one. Reverse the procedure to put everything back together. Make sure the clockspring is in its correct position, and follow all safety procedures.
Finally, connect the battery and start the vehicle. Check for any malfunction indicator lights on the dash. If the airbag light is on, clear the airbag control module with a professional OBDII scan tool.
Test to make sure all the switches are now working, you are done!
Specifications
Torque
Steering wheel nut 30-35 ft-lbs
Vehicle Applications
All Mitsubishi models including Galant, Lancer Evo, Outlander, Eclipse, Mirage, and more. All year models including current-gen: 2012, 2013, 2014, 2015, 2016, 2017, 2018, 2019, 2020, and 2021.

Leave a Reply