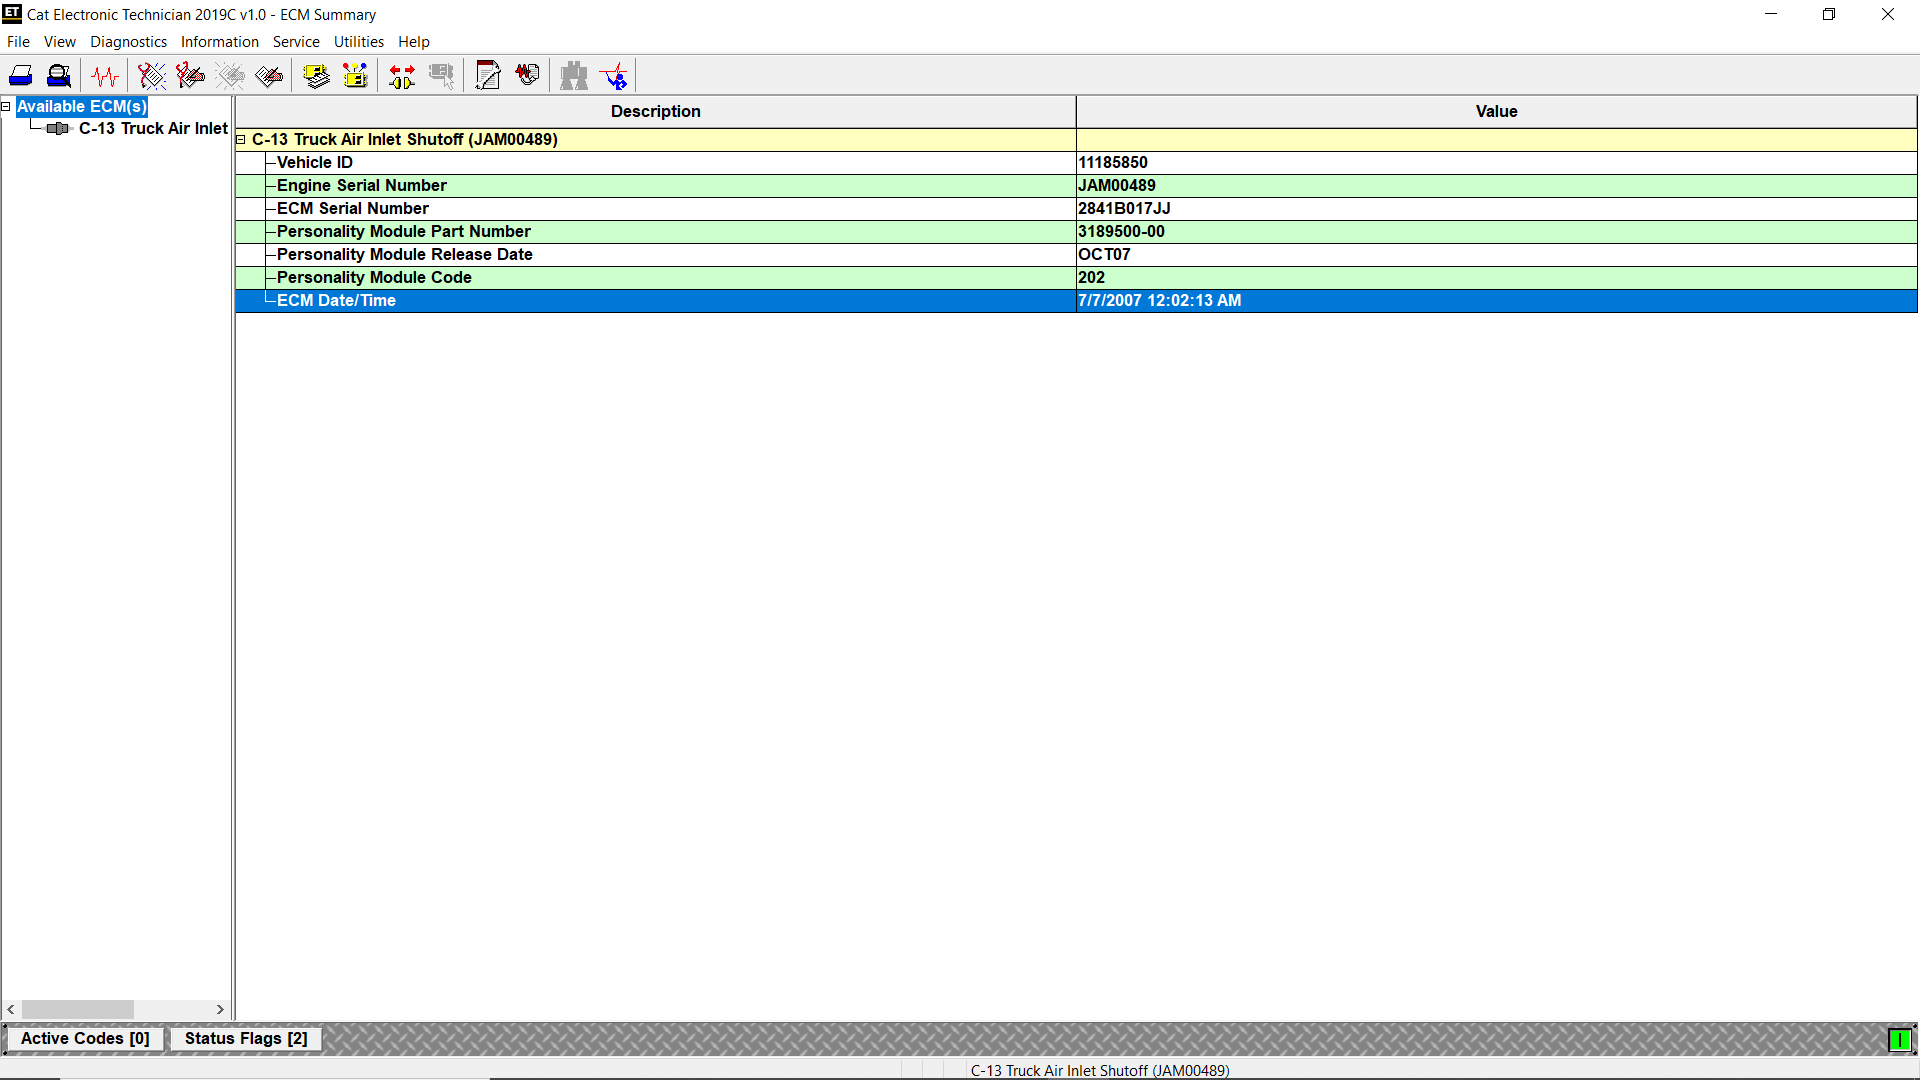
Change the ECM DateTime using Caterpillar ET Software
#Purpose
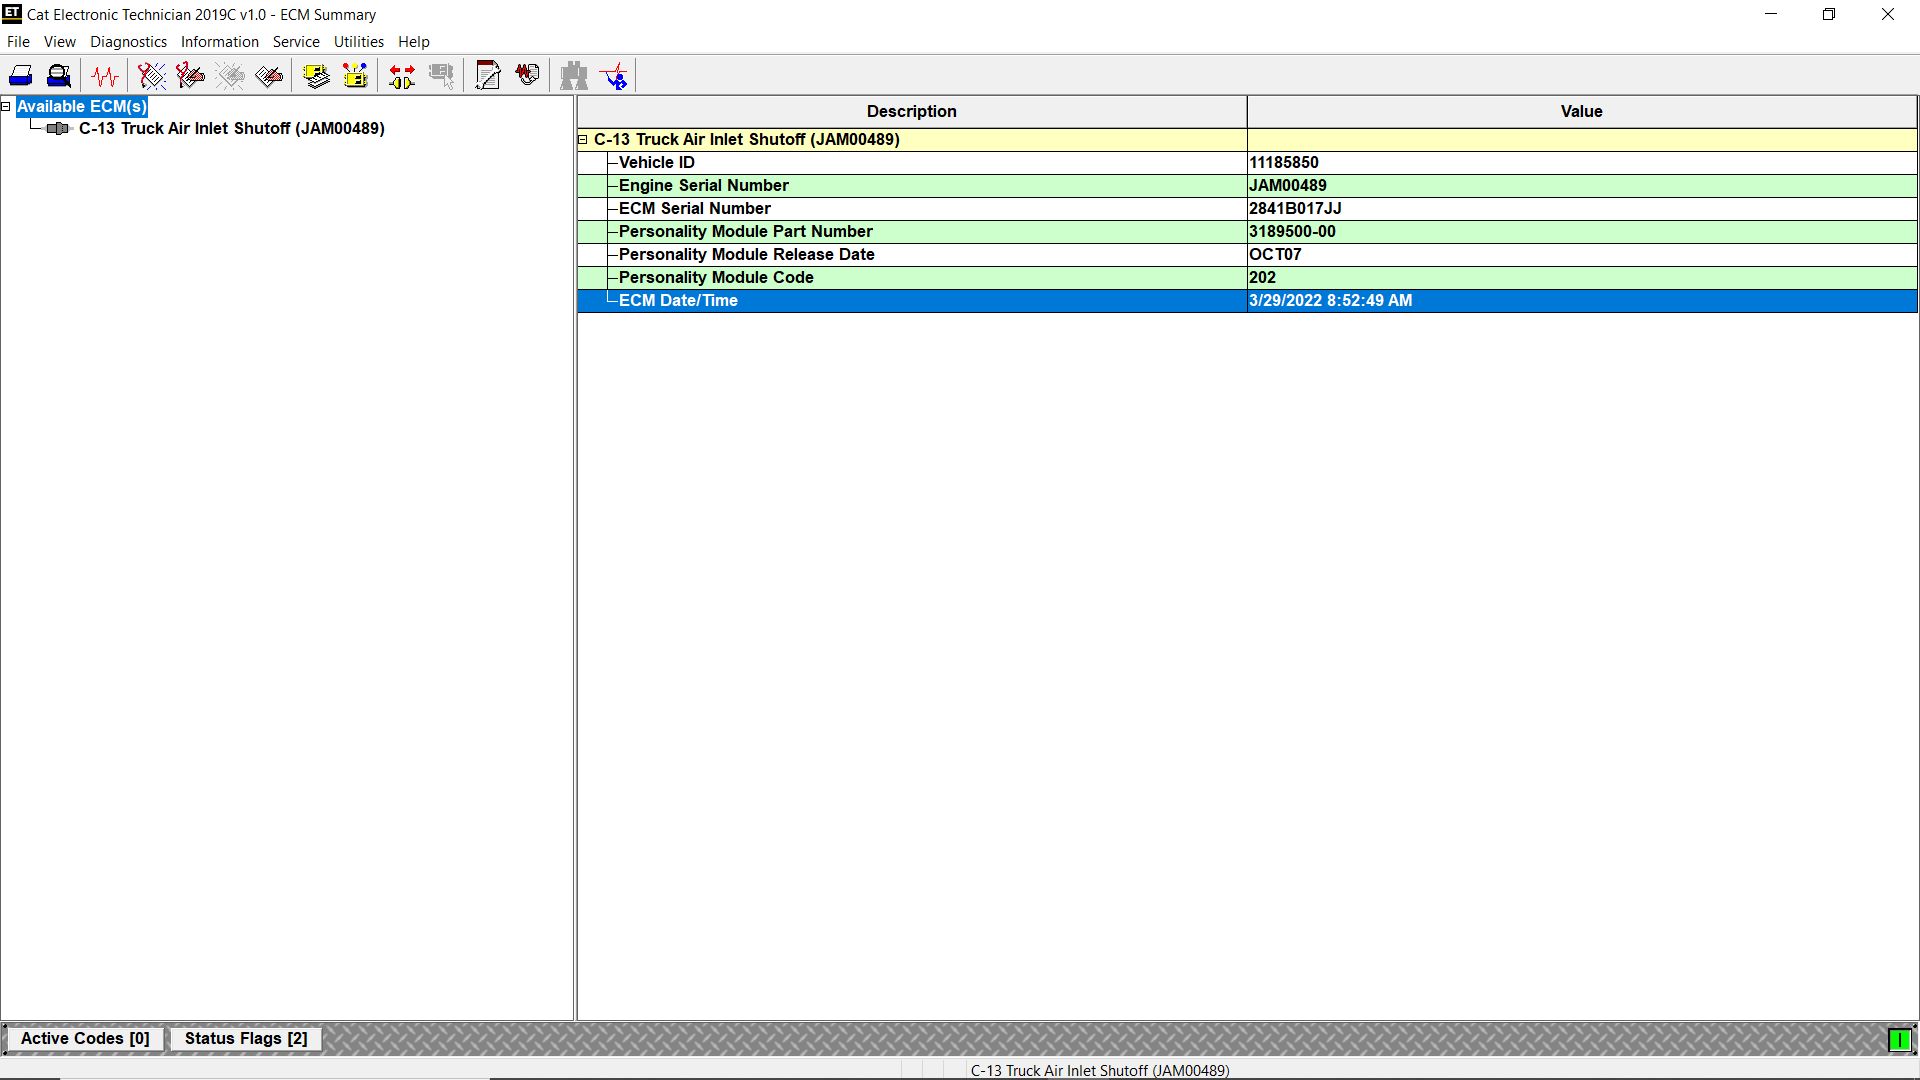
The ECM Date/Time function allows the current date and time of the ECM to be viewed and modified. This information is continuously updated. If the ECM and PC Date and Time are different, the ECM can be programmed to match the PC.
#Accessing
To display the current Date and Time of the ECM:
1). Connect Cat ET to the Service Tool connector. Read More: How to Connecting Caterpillar ET Software to the ECM.
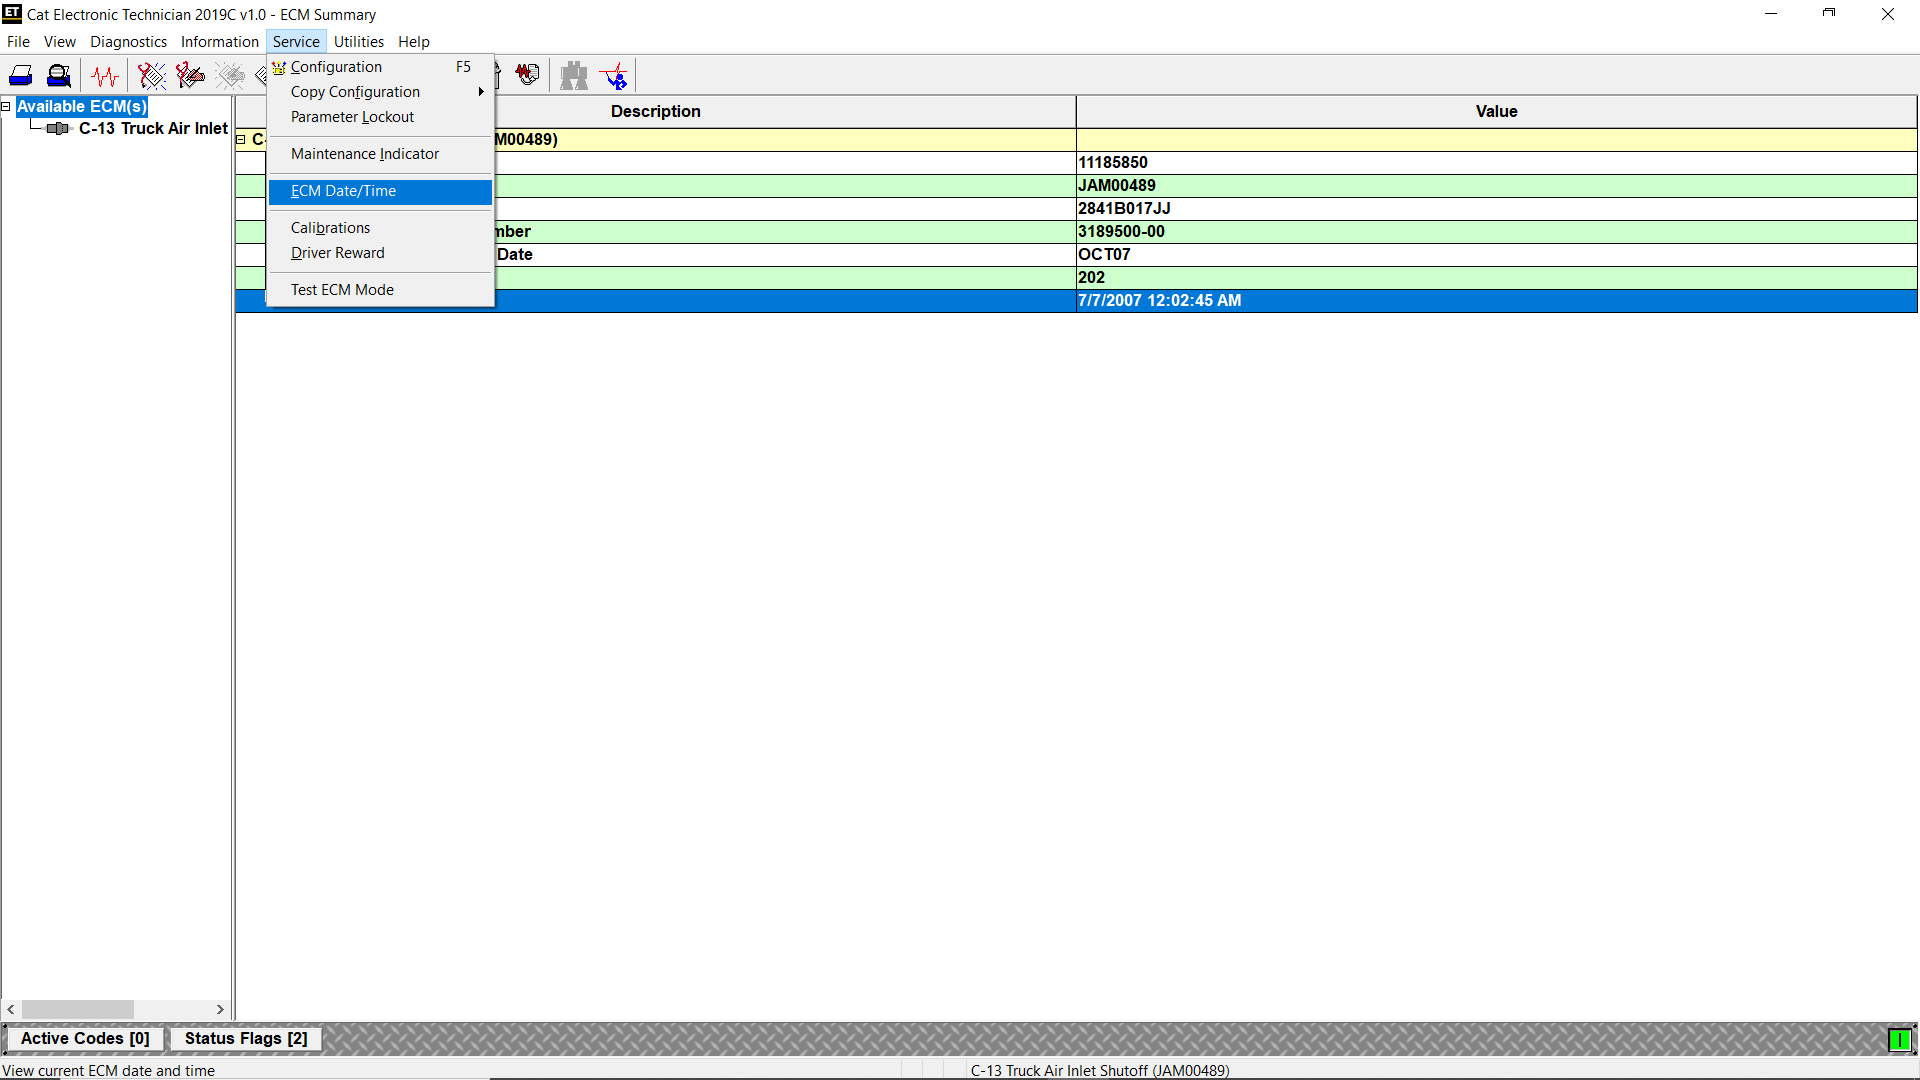
2). Select ECM Date/Time from the Service menu.
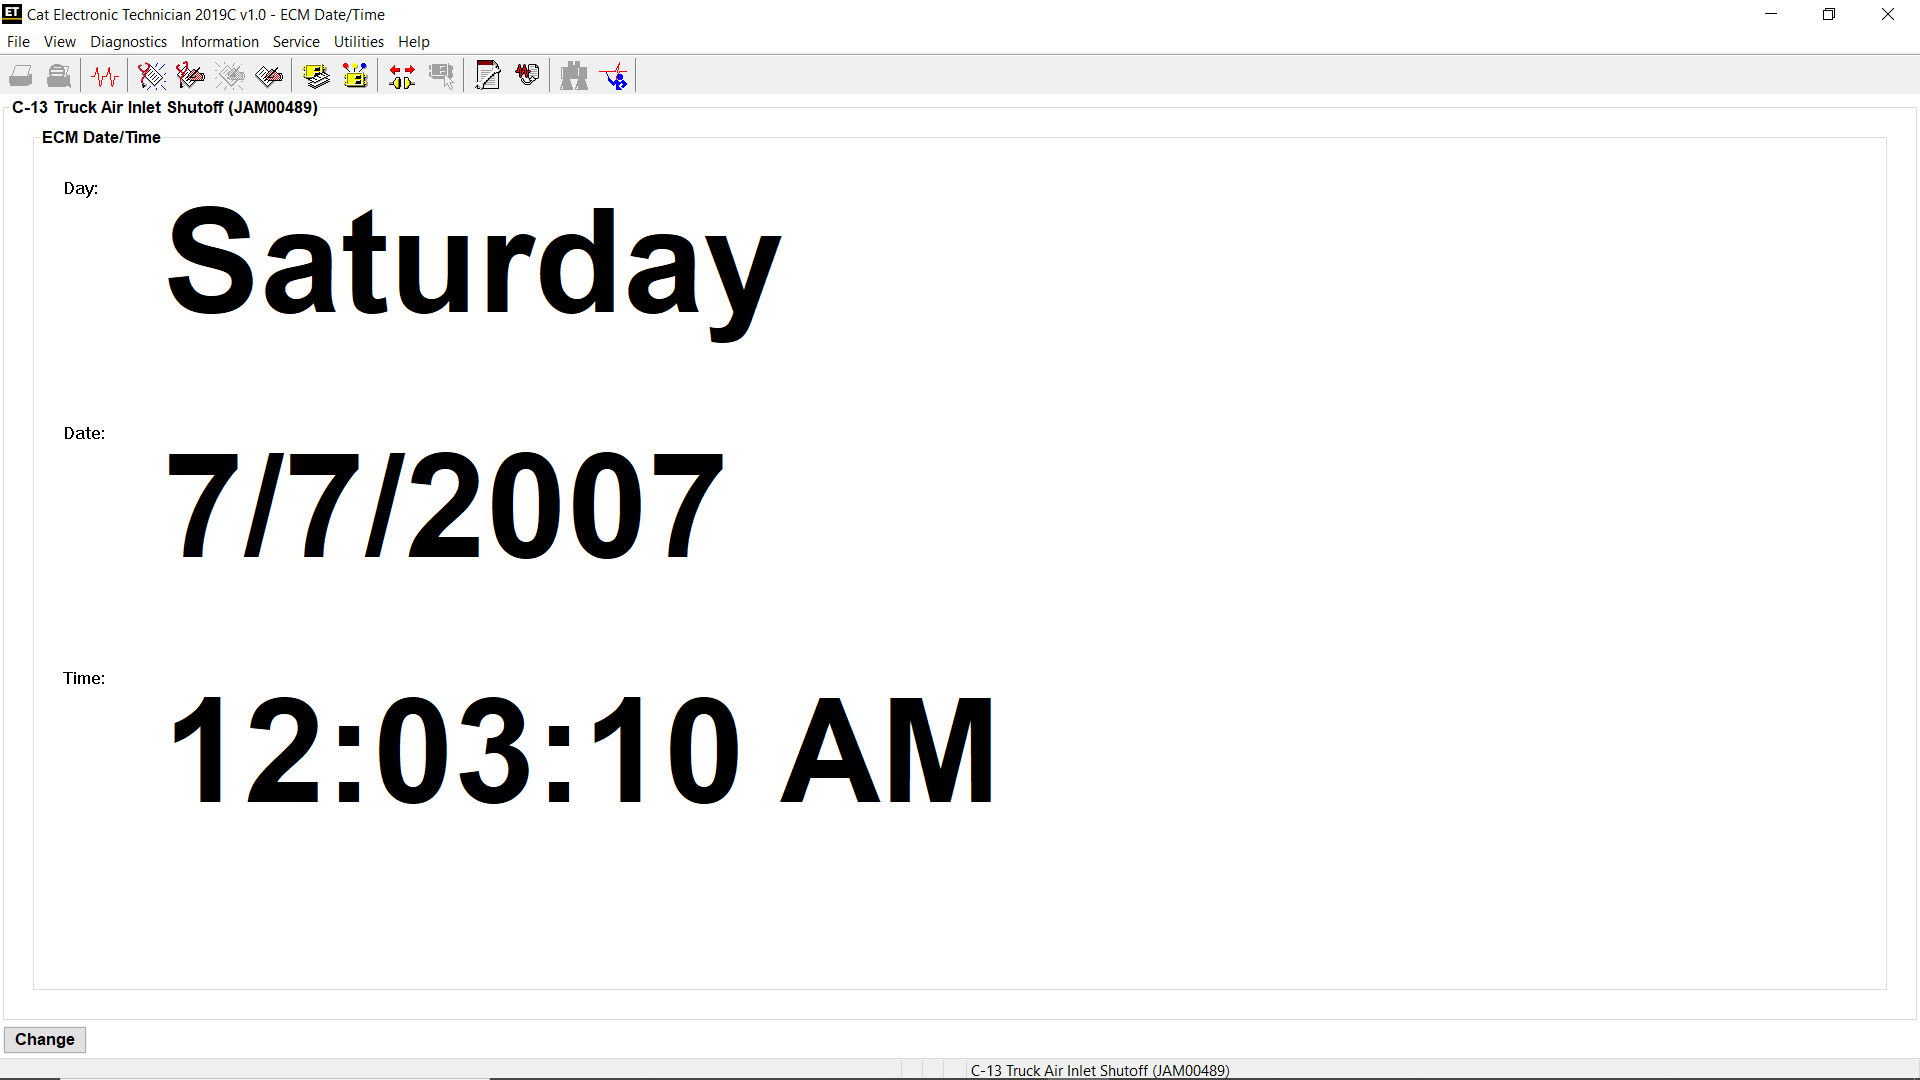
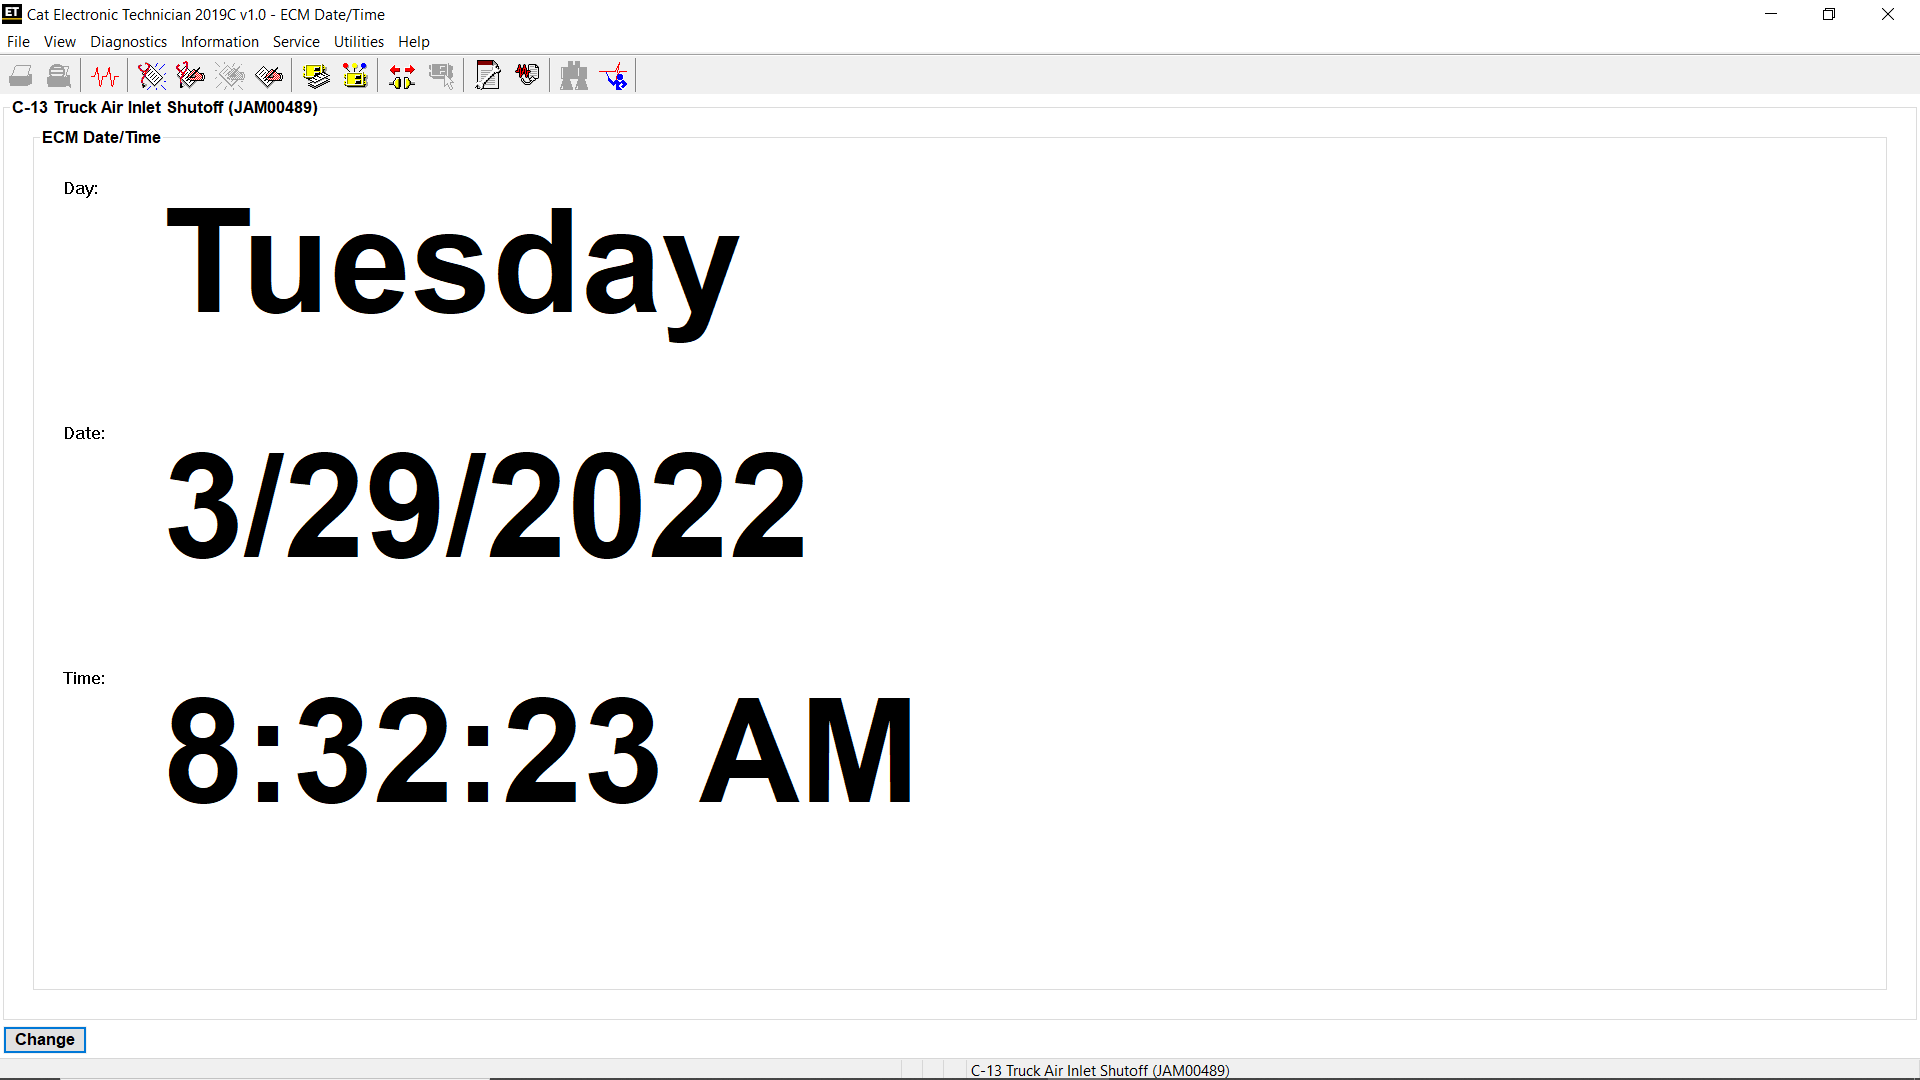
3). The ECM Date/Time screen is displayed.
#Screen Layout
The ECM Date/Time screen has the following areas:
A. ECM Title Area
The ECM Title area displays the name of the ECM (C-13 Truck Air Inlet Shutoff).
B. Display Area
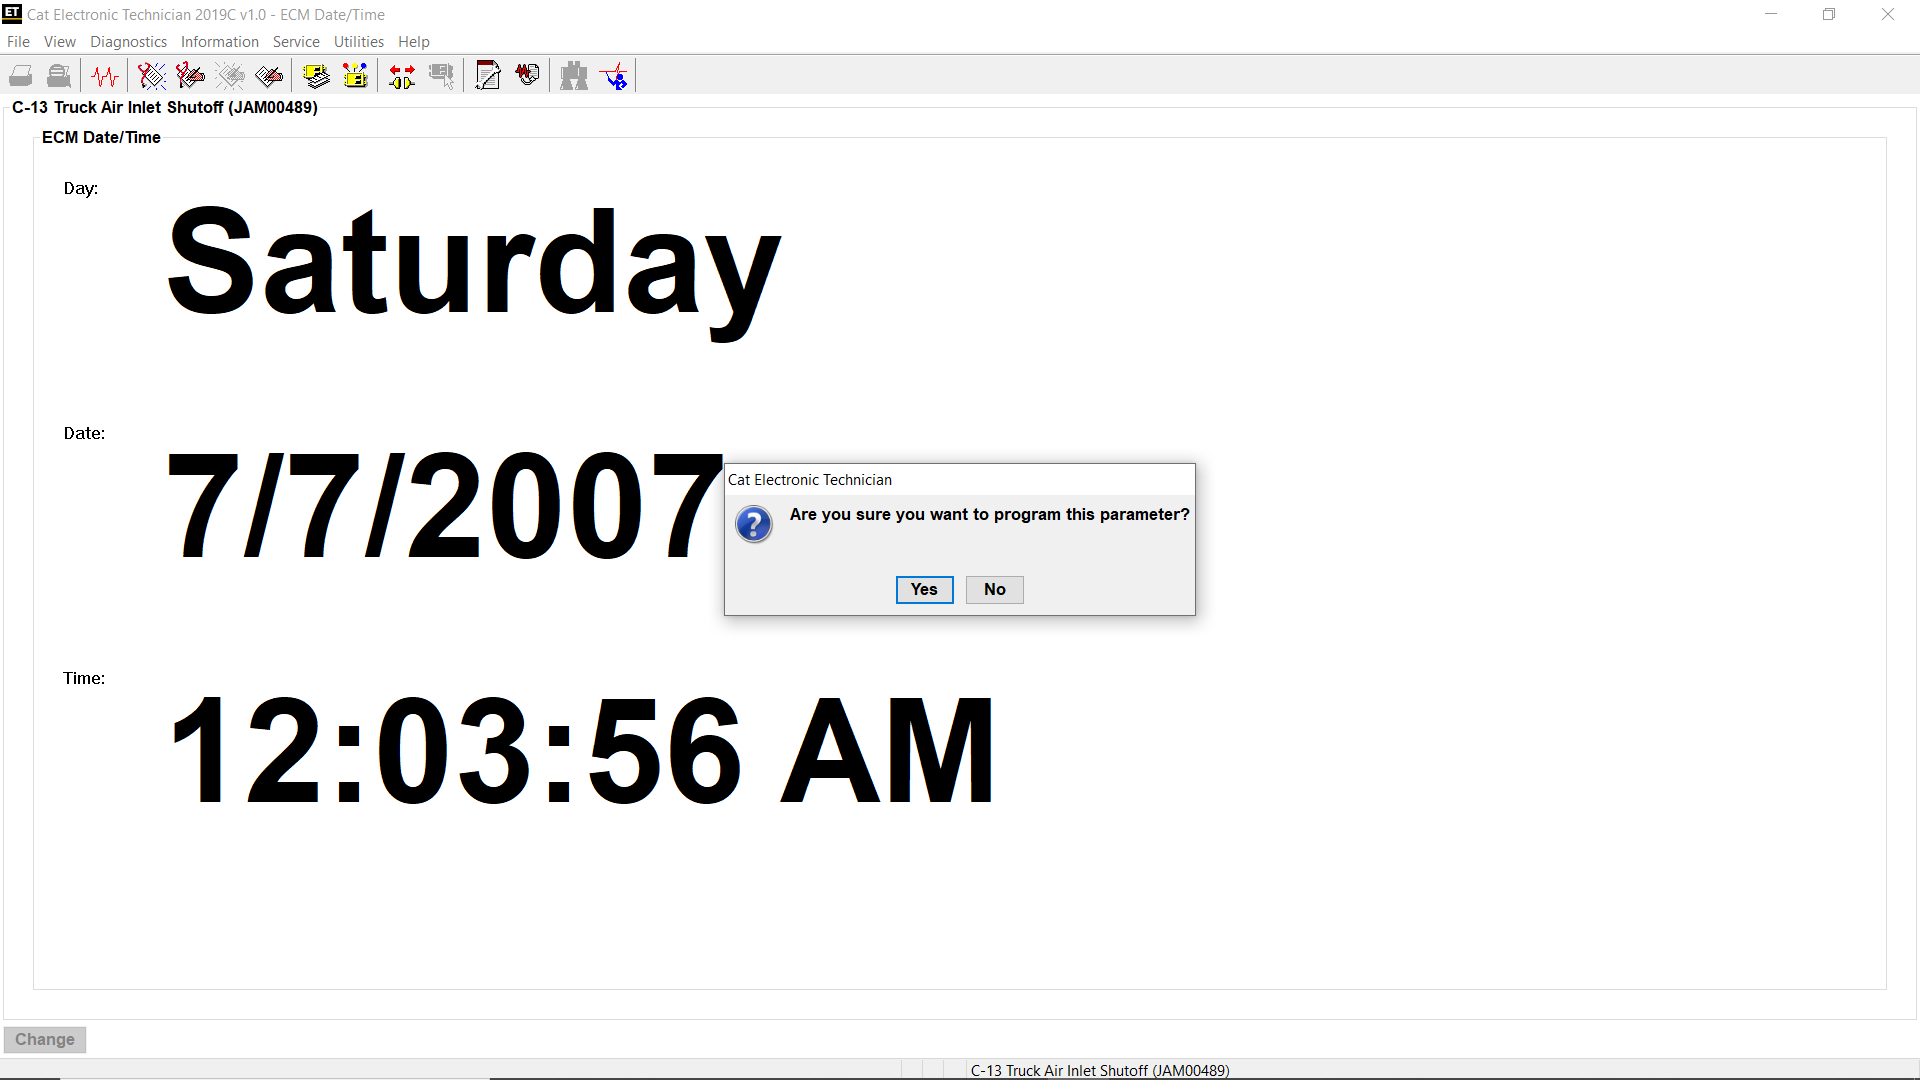
The ECM Date/Time screen digitally displays the day of the Week, the Date, and the Time.
C. Buttons
The button available in the ECM Date/Time screen is:
→Change – Click this button to change the Date and Time on the display.
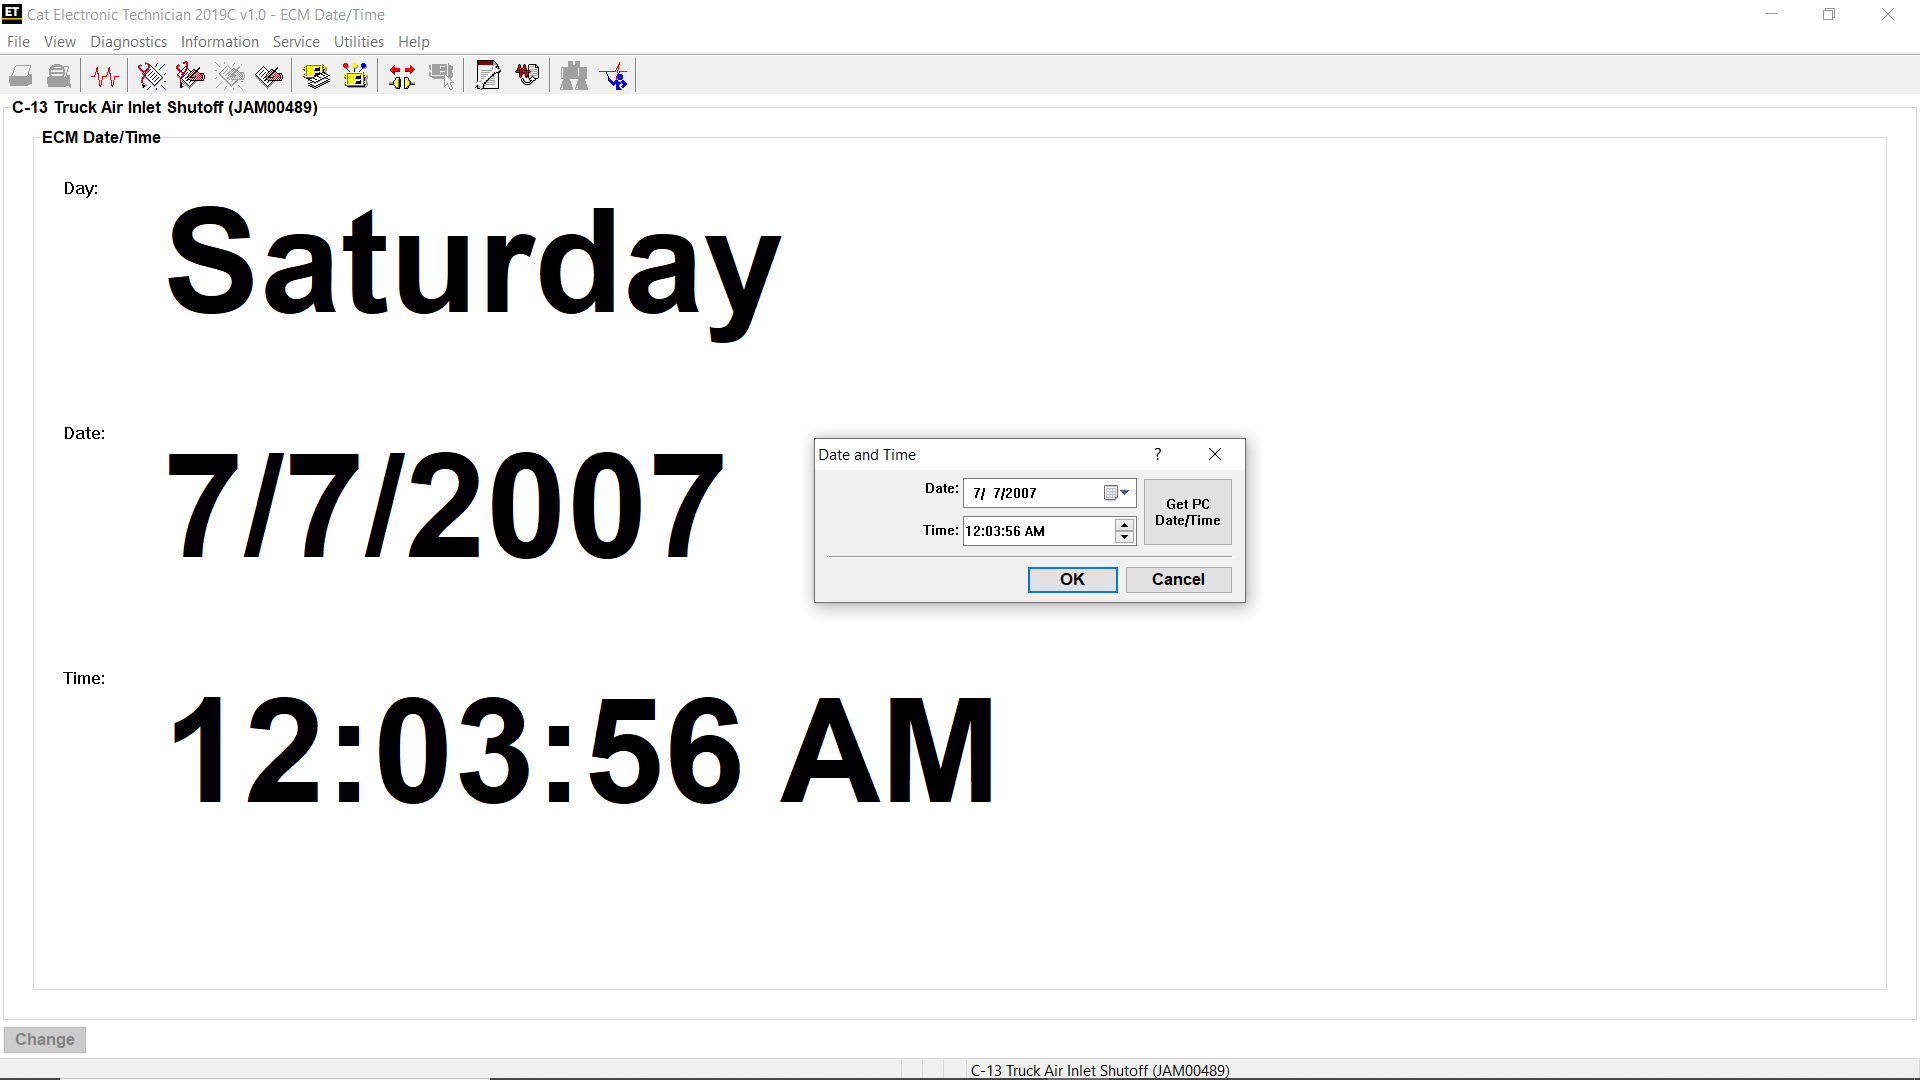
When the Change button is clicked, the Date and Time dialog box is displayed (refer to Figure 1.4 above). The information may be changed by clicking the up or down arrow next to the text box or by manually entering it on the keyboard. The information may also be set to match the PC date and time by clicking the Get PC Date/Time button in the Date and Time dialog box. Once the changes have been made, click OK.

Leave a Reply